Recently in Sewing Projects Category

A Summer Dress for Autumn

| 5276 Comments |

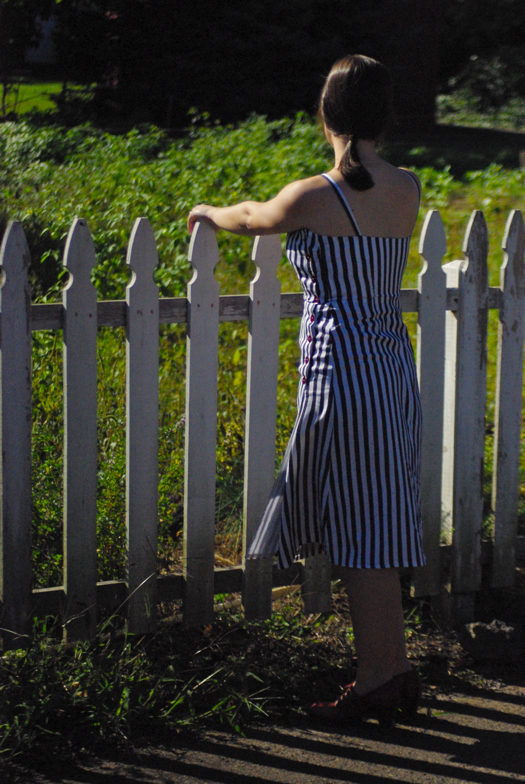
Since October is almost over and winter will be upon us before it's remotely reasonable to expect it, I thought it was about time I blogged about a sewing project I completed in late spring, before the France trip, and which has been in heavy rotation all summer.

striped dress

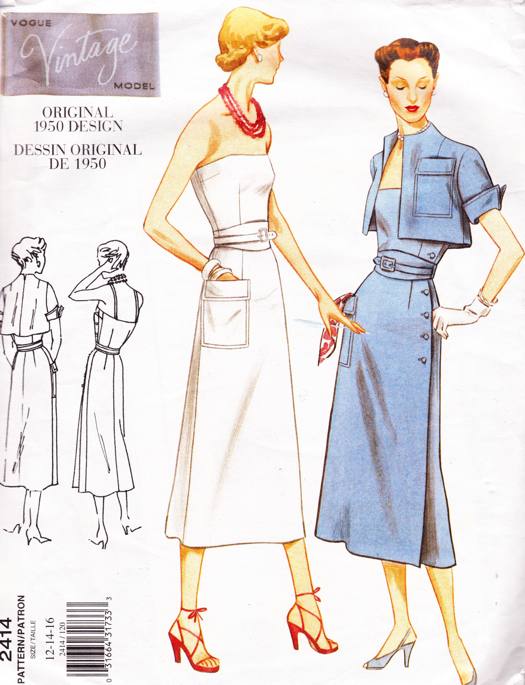
This is a Vintage Vogue design (2414), a reissue of a pattern that originally came out in 1950. As you can see from the pattern illustration below, there are quite a few features I didn't get around to adding to my dress before we left on our trip: in particular, the cool two-level self-covered belt, and the lovely little bolero. This is one reason it's taken me so long to blog about this project: I kept thinking I was going to finish up these missing pieces, especially since I do have them already cut out and waiting to be sewn. But you know how it goes: after I got back from the trip, newer and shinier projects beckoned. At this point, I'm thinking that throwing the missing pieces together come next spring will be a great way to refresh this dress for another season.

pattern cover

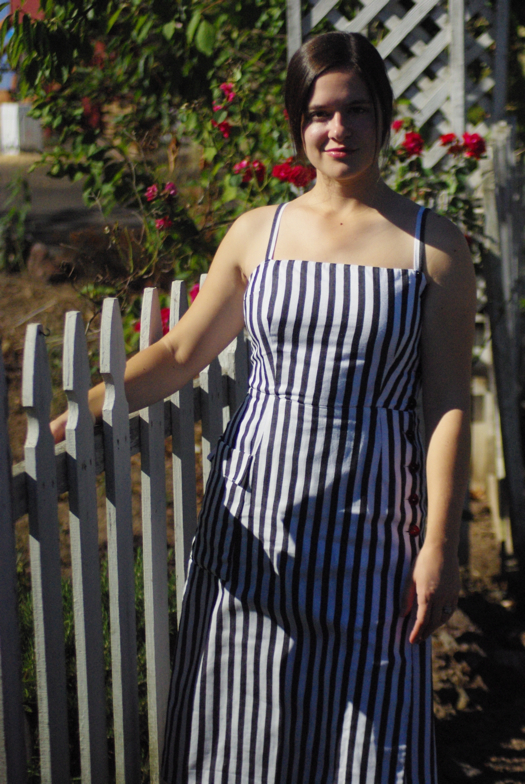
Still, it's perfectly wearable just as it is. I wanted to sew something that encapsulated my idea of the Norman seaside, and this linen/cotton blend in black and white stripes was, I thought, just the ticket. I wanted to evoke a turn-of-the-century, Proustian world of young girls in the Old World frolicking by the seashore, without looking like I was wearing a costume.

striped dress

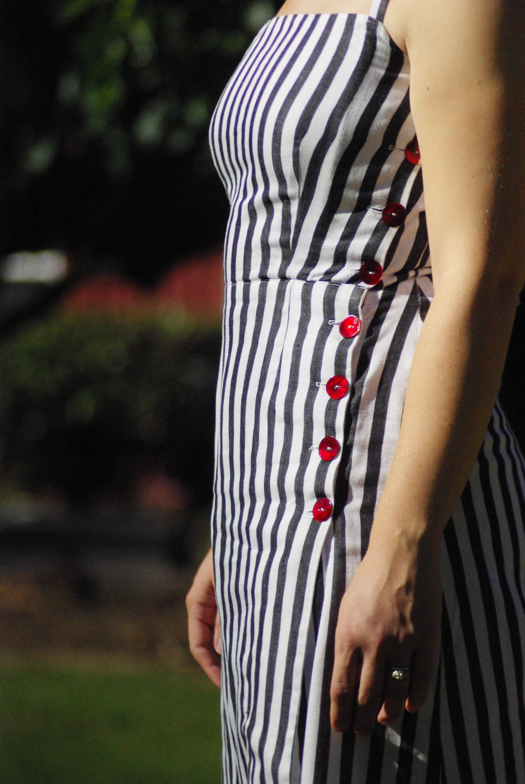
Then I received the red Fluevog Ileanas I'm wearing in these photos, and I added a few more modern red details to tie the whole outfit together. When I eventually make up the belt it will be in a very cute, very modern print with a vivid red background, which in turn will pick up the red of these great buttons:

buttons

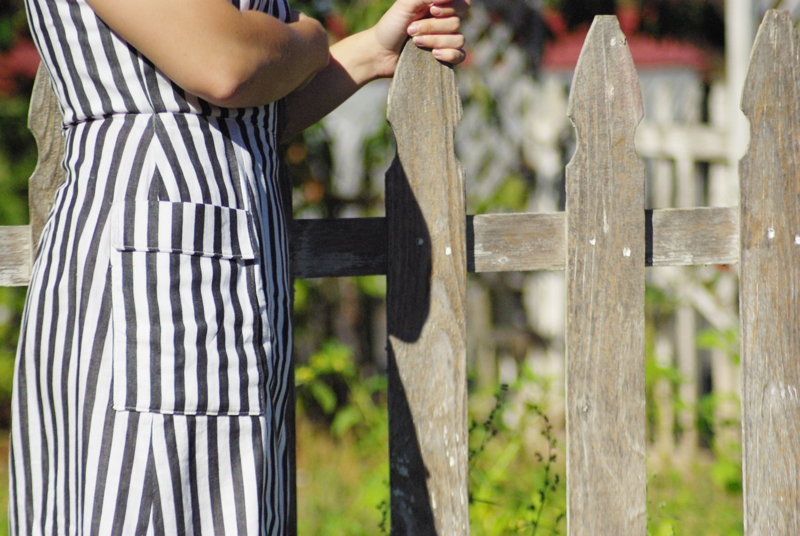
As far as construction, I'm understandably a little hazy on the details this long after the fact. I do remember that the pattern was lots of fun to put together, and I would definitely make it again. The bodice is boned and lined; the directions call for self-lining but I did mine in a plain white broadcloth so as to avoid shadow stripes showing through the right side of the garment. The skirt has an extra panel that wraps around in front and attaches with a hook and eye so that the dress stays put even though the buttons end halfway down the skirt. I added a tiny amount of ease to the top of the dress at the side seams, but I think if I make it again I'll take that addition back out; after a full day of wear it gets ever-so-slightly gappy, although because I included the optional straps, it's not that big a deal. Overall, it fits great and is very easy and comfortable to wear; I love the slightly high waist, and the faux pleat caused by the combination of the wrap skirt and the buttons that end mid-thigh. The asymmetrical pocket is another favorite detail:

pocket.jpg

Of course, as fate would have it the two days we spent in Normandy were some of the only rain we saw during our whole three weeks in France, so I spent that time in my jeans and raincoat instead of sporting strappy sundresses. Still, I was very satisfied with the overall execution as compared to initial concept. Instead of photos from Cabourg, I'll just have to make do with shots from the little park next to the Bomber Restaurant, where we took the photos for the Saint-Exupéry Hat.
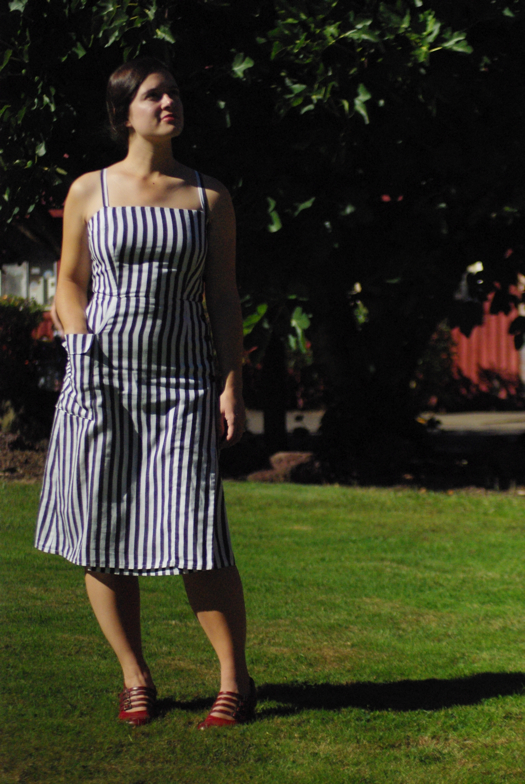
striped dress

An exciting partnership

| 38 Comments | | »>

I knew there was a reason I was waiting to buy the complete line of Colette Patterns, and here it is: they just announced a charity partnership with The Pixie Project, one of my favorite Portland nonprofits!

Licking dog

You may remember that the Pixie Project is the awesome pet rescue through whom David and I adopted our miniature dachshund, Mr. Bingley (above). He's pretty much the light of our lives, and we feel so thankful for the good work of the Pixie Project and other rescue organizations who save dogs and cats from possible death at the over-burdened county and private shelters. Pixie Project is especially cool because most of their pre-adoption pets are in foster care rather than a kennel/shelter environment, which means less trauma to the animal and greater likelihood of a successful match. They have a retail arm, where we buy Mr. Bingley's food and which helps sustain their efforts to provide pre-adoption animals with necessary vet care. They're also integrated with Virginia Woof, a dog daycare and boarding organization that took great care of Mr. Bingley for us while we were in France. Here is how devoted they are: they called us in Paris to make sure it was okay for them to take Mr. Bingley on walks outside, since the neighborhood is high-traffic. How cool is that?

Who wants a treat?

I know Colette Patterns are already deservedly popular in home sewing circles, but I couldn't resist adding my plug for them after reading that they will be donating a portion of their profits to Pixie Project. What could be better? You buy a stylish, beautifully packaged and incredibly well-written pattern, and help save a super-cute pet. I believe they call this a win-win.

Mr. Bingley after his bath

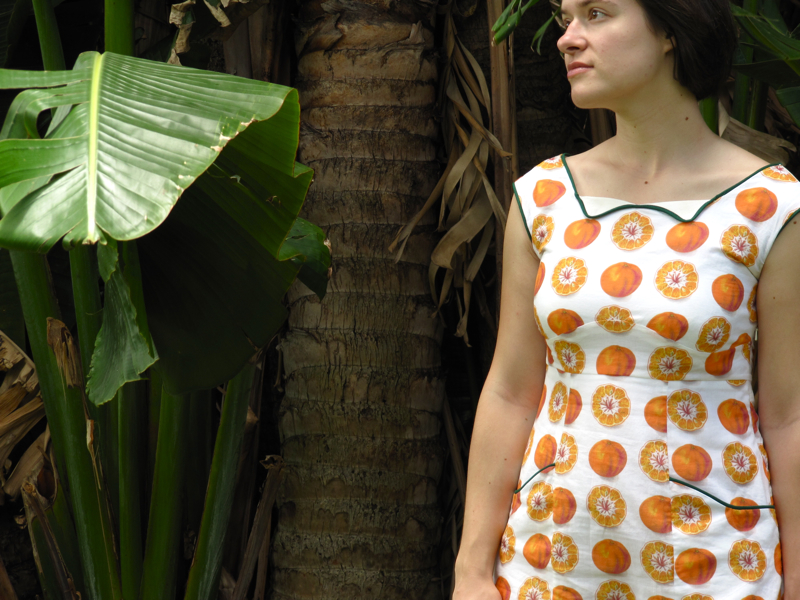
So, which Colette designs will I be investing in? As of right now the only one I own is Rooibos, which I made into the tangerine-themed sundress I took on honeymoon last year. I have to say, this has since become one of my favorite dresses: it's in high rotation in my work wardrobe, and I get a ton of compliments on it. In the winter I accessorize it with knee-high socks, my Frye cowboy boots and my Monami cardigan; in summer I lose the sweater and the socks, and wear it with my Danskö mary janes (or flip-flops, if I'm at home instead of at work).

tanhere.jpg

I'd been thinking of remaking the same pattern in a different fabric, but now I'm considering which other Colette patterns I'd like to make. Their new Ginger skirt pattern is super cute and versatile-seeming, and I've been coveting the retro-sexy Cinnamon and Nutmeg dainties patterns since I brainstormed some mood boards for them last year. And there's one other pattern that's a no-brainer: I've been promising to make David a button-down shirt for over a DECADE, and the Negroni pattern is named after his favorite cocktail. (I know, spooky. Also: I feel the shame, guys. I really do.)

Anyway, this post is a bit gushier and more boosterish than my normal fare, but I was so excited to see two of my favorite Portland businesses teaming up that I just had to share. Let's end with another cute Mr. Bingley shot, just because I can.

Little feet

Waiting for godet(s)

| 36 Comments | | »>

One of the great things about my recent re-commitment to artistic freedom is that it gives me the leeway to spend more time sewing, even though I don't make any money from my sewing projects. And that, my friends, is a stroke of fortune, because let me tell you, I have hit a patch of extreme ennui vis-à-vis my current wardrobe. Since I buy almost nothing I wear, and wear my clothes until they fall apart—which sometimes takes decades, if the garment was well-made in the first place—I tend to acquire things very slowly and wear the same things month after month, year after year. This is generally fine given that I'm not a novelty hound, have a small closet in a small condo, and wholeheartedly love most of the pieces of clothing I own. However. There does occasionally come a time when I get up in the morning, open my closet, and can hardly bear to think of putting on the same thing this Tuesday as I wore last Tuesday, and the Tuesday before that, and the Tuesday before that. And that time, as it so often does in January, has come.
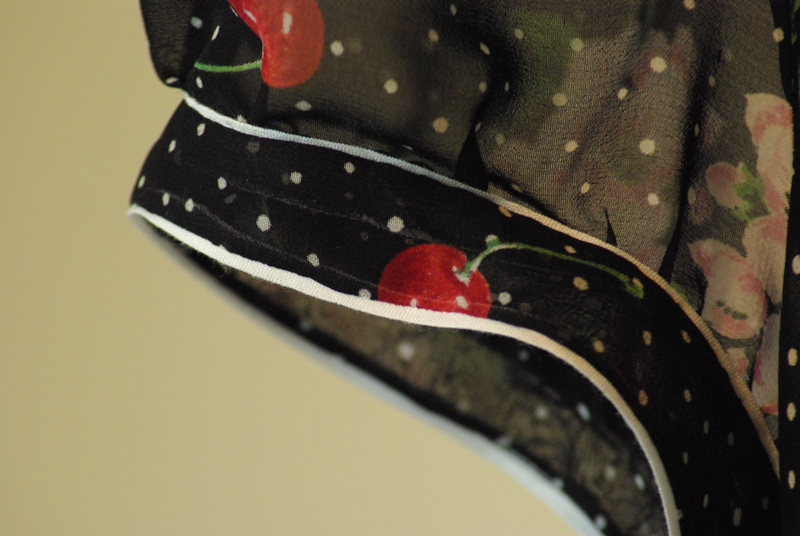
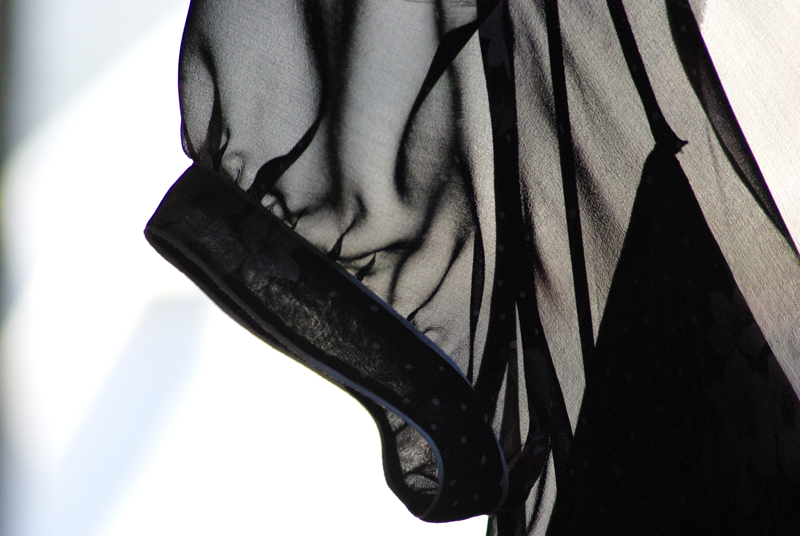
cherrysleeve.jpg

This mood almost always hits in winter, and I almost always deal with it by making a light-weight spring or summer dress, even though I know that some time may go by before I'll be able to wear it. Theoretically, this should mean the dress wouldn't be an immediate cure for my cold-weather wardrobe blues. Except that it kind of is, because it lets me dream of a warmer, sunnier time, when the days will be long, the breezes balmy, and I will be in France with a beautiful wardrobe of new dresses which will magically eradicate my American accent as I converse with Parisian booksellers. So basically, I choose to live in Fantasy Land, and I'm sure plenty of you sharing the winter doldrums with me can relate.
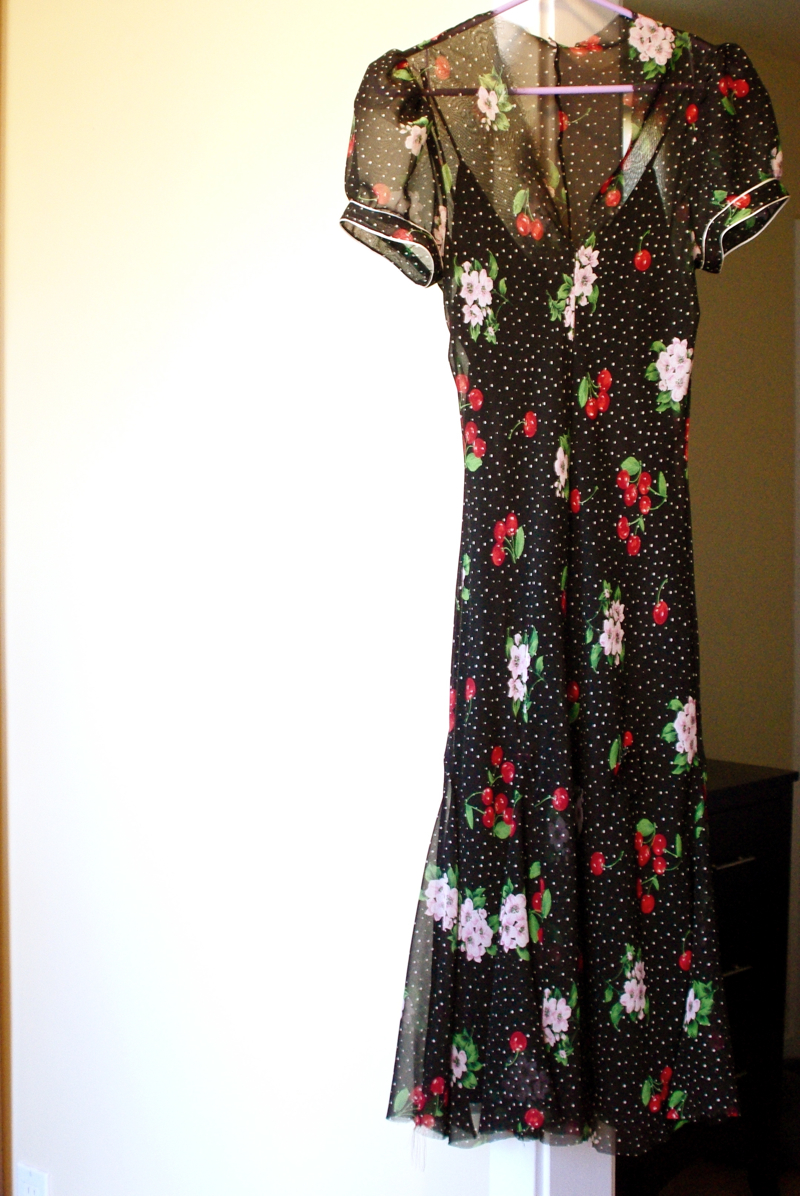
I've had this gorgeous silk georgette for AGES, so it's about time I got around to working it up; I splurged on it three or four years ago on a trip to San Francisco's Britex Fabrics. I even knew, way back then, which pattern it was destined to become: Vogue 2784, whose pattern model, as you can see, I loved so much as to copy it shamelessly. Except no, my fabric choice is much more interesting! It has black and white polka dots, yes, but also pink flowers! And clumps of red cherries! Completely, utterly distinct.

cherryhang.jpg

The sewing process on this has been totally enjoyable, accompanied by Wilkie Collins's The Moonstone on audiobook and the occasional glass of wine. I'm a slow seamstress, and taking into account all the French and double-stitched seams involved, progress is not quick, but that's okay. Who wants to hurry along a project whose point is to transport one to Fantasy Land? The only tedious part thus far, beyond the attempts to cut out full-body pattern pieces on the bias on a surface not truly big enough, is that there are eight godets (triangular inserts) in the skirt, each of which require careful placement and two double-stitched seams, and sewing in one after the other gets a little old. I'm skipping around a bit, therefore—I work a godet, then sew a sleeve; work a godet, then cut out some bias binding; work a godet, then stitch together the waist ties. The result is that I have both sleeves and the charmeuse slip (almost) done, and still have one godet left.

The most rewarding part? Two different kinds of bias-cut 100% silk mean I can hardly resist trying this on at every opportunity. Delicious and flattering. Can't wait to show you.

cherrysil.jpg

Green tangerine

| 46 Comments | | »>
tanhere.jpg

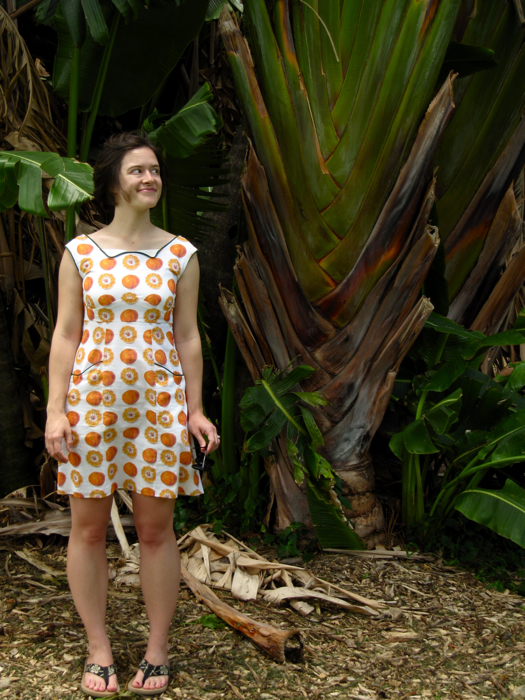
A big hello from beautiful Oahu! David and I are having a fantastic delayed honeymoon here; lots of reading, relaxation, snorkeling (for David) and beach reading (for me). This won't be a super-long blog entry, but I wanted to get some pictures of the finished Tangerine Rooibos dress up. David was kind enough to snap some shots of it for me yesterday, when we visited the Foster Botanical Garden in downtown Honolulu.

tanfunny.jpg

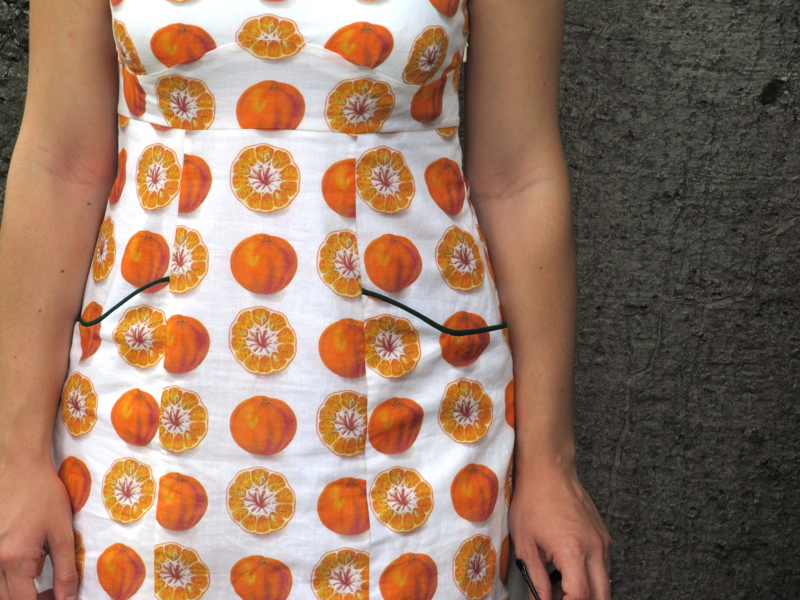
I'm really happy with how this turned out. One always has to pick one's matching battles when working with a print, especially on a pattern with as many curved seams as Rooibos: there's just no way to match across every seam. But I like the way the pattern "reads" almost interruptedly down the center middle, how it's centered left-to-right (love that single cross-section between the points of the collar!), and I'm especially chuffed with how the cross-section parts match at the top of the curved waist inset, and how the whole tangerines match across the tops of the pockets.

tantorso.jpg

I remain totally sold on piping. So easy and cute, and I think, with this dress in particular, it really helps to define some of the pretty lines that might otherwise get lost in the print—particularly the pockets, but also the cute little collar.

tanfrond.jpg

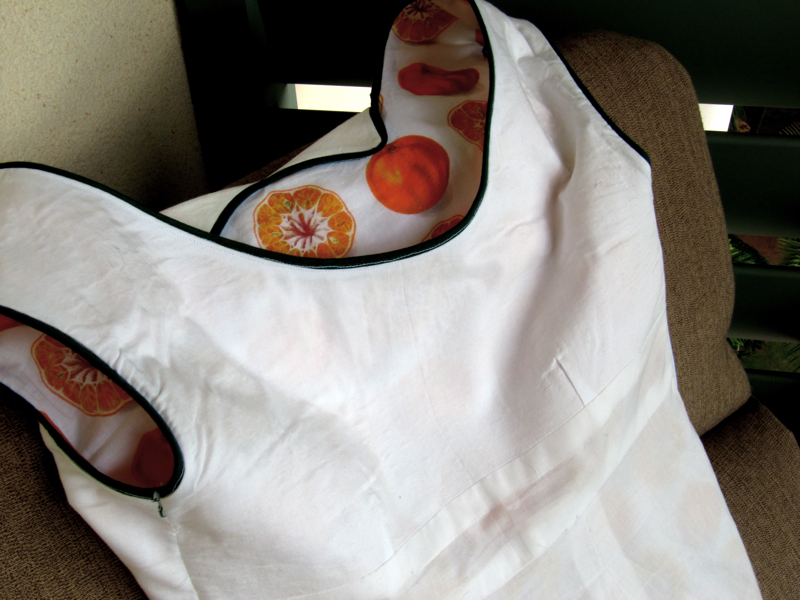
As I mentioned, I did a full lining rather than the recommended partial facings, since otherwise the cotton lawn would have been a little bit too revealing for my taste. Here's the behind-the-scenes inside-out shot:

tanlining.jpg

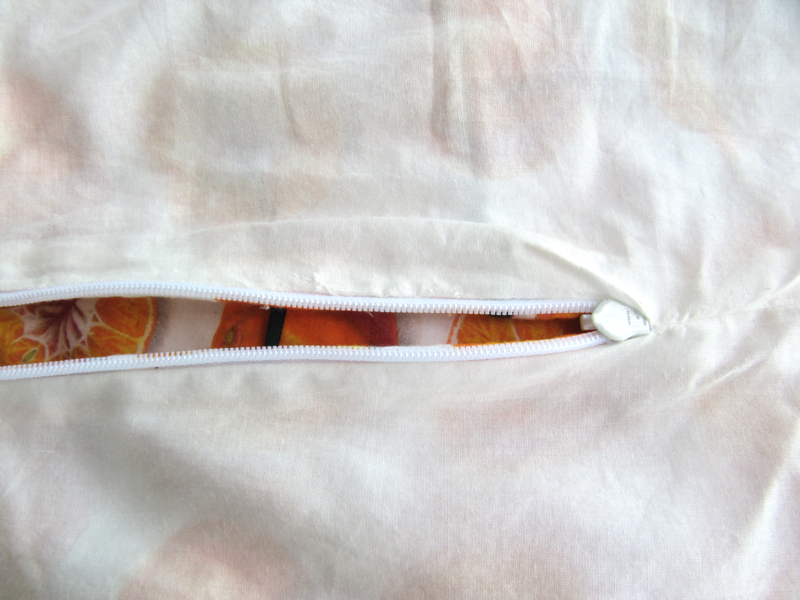
You can see in this photo that I cut the same pattern piece in shell, lining, and interfacing, then interfaced the lining before sewing all the same darts in the lining as I did in the shell. Below the bust there's no interfacing; I just put together the lining as directed for the dress, and attached as directed for the facings. I also attached the lining to the invisible zipper after installing it in the shell, which makes the whole thing feel very fancy and finished, and makes me happy whenever I wear it:

tanzipper.jpg

Well! This is turning into a long blog entry after all, and I have a beach to lounge around on! I'll leave you with a final profile shot (you can see that not everything could be matched as nicely as the front):

tanside.jpg

And, for a little perspective, here's the tree against which I'm leaning. Amazing!

tanscale.jpg

Citrus love

| 30 Comments | | »>

Well, I fell off the Me Made May wagon for the second half of the month there, when my photographer left town and I was slightly under the weather. I have some sweater knitting to share, but I wanted to jump in and show you the in-progress project I'm most excited about at the moment:

tangbodice.jpg

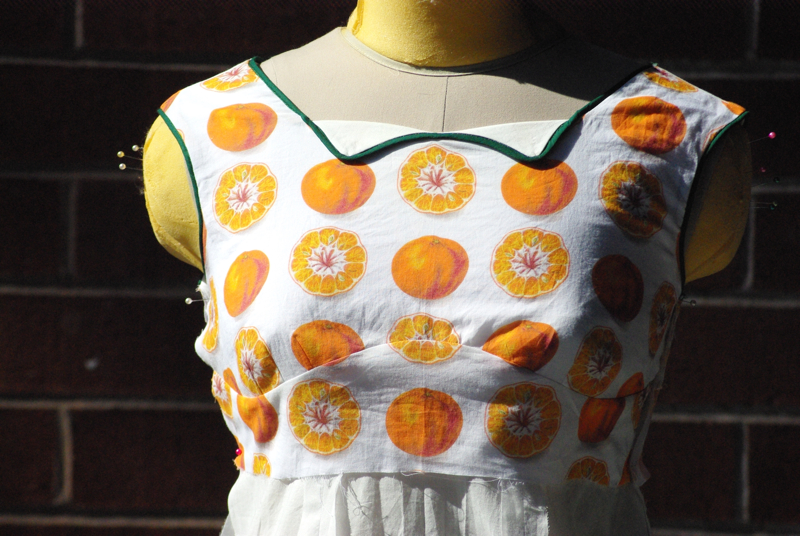
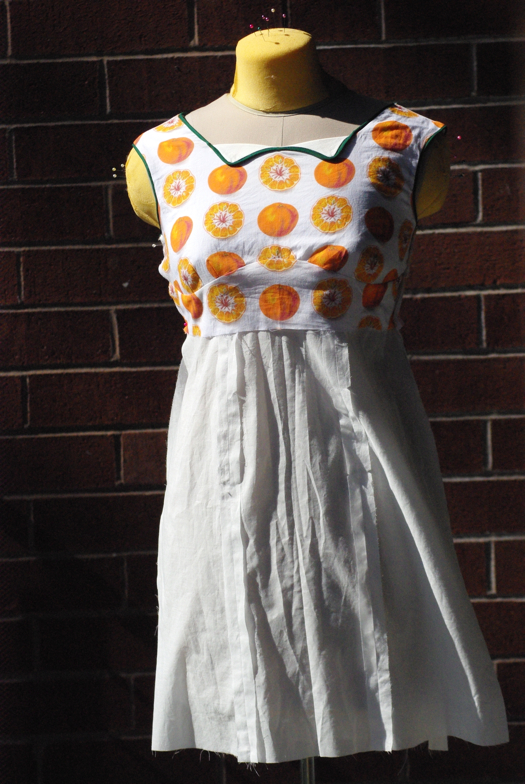
In two weeks David and I are taking our delayed and highly anticipated honeymoon to Oahu, and one of my favorite ways to savor pre-trip anticipation is to make a new piece of clothing to wear on vacation. In this case, I wanted a new, clean little sundress, and I'm psyched about how my choice is turning out. It's a modified version of the Rooibos dress from Colette Patterns, and right there I already feel great about it because I've been meaning to try out Sarai's line of patterns forever and I'm finally getting around to it. Gotta share the Portland love whenever possible! I must say, I love the pattern: graded for a huge number of sizes, sews up smoothly and without any unpleasant surprises. The styling of this dress is very three-dimensional: lots of darts and curved seams, coming together in a way that seems a little different than most other, commercial patterns I've worked with. I like it! Plus, it's made me a total convert to piping: easy, cute, fun. What's not to love?

tangfront.jpg

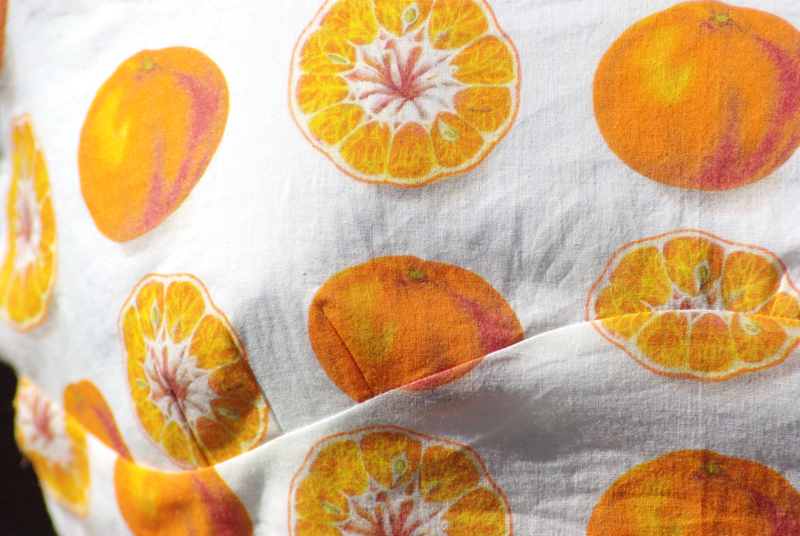
I'm making this dress in a much lighter fabric than the pattern calls for: a cotton lawn print from Spoonflower called Best Tangerine. The same designer has avocado and peach prints; I really dig the retro botanical vibe combined with the fresh, clean white backgrounds. I would seriously order three yards of each if only I could afford it.

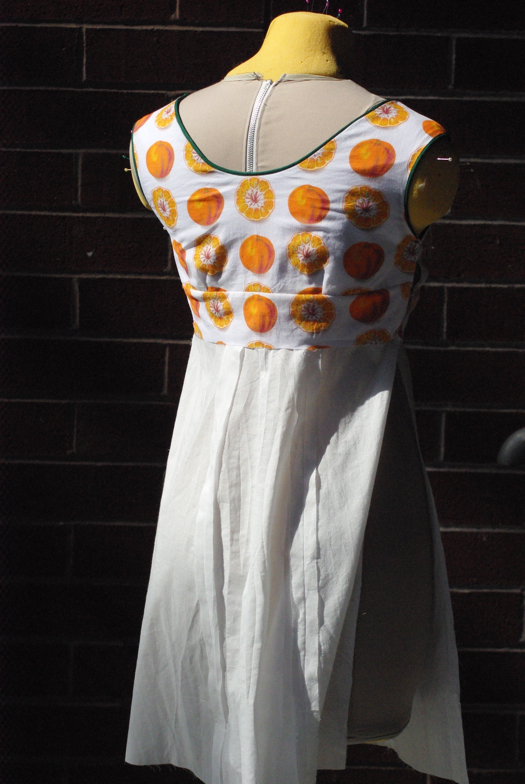
The lawn base is gorgeous—soft, light, and airy—but it's also fairly transparent, so I'm altering the pattern and doing a full lining instead of the partial bodice facings recommended. What you see extending below the bodice is the cotton batiste lining, which I worked up while the Spoonflower fabric was being shipped to me, helping to cut my impatience. As you can see, I sewed the lining with regular seams, but the lawn is finer than the batiste and I'm working it in French seams throughout, which is always exciting to me. Quite a bit more work, but when I see the neat, clean finished product with all seams encased, I must admit it's a bit of a thrill.

tangdetail.jpg

It's super-easy to modify this pattern to be fully lined: I just set the facing pieces aside and cut out lining pieces for every piece included in the dress (lightly taping the upper and lower side-front skirt sections together to make a single piece, since I don't need pockets in my lining). I cut back and front upper-bodice pieces out of a light interfacing and fused it to my lining fabric before sewing the darts. Interfacing the whole upper section means there's no visible line where the facing piece leaves off (something I would worry about otherwise), and also that my bra won't show through the finished garment. I sewed the lining according to the instructions for sewing the dress, and more or less followed the instructions for working with the facings, except that I put together the entire front and entire back of the lining before joining it to the outer shell. Hopefully I won't run into any issues when I go to install the invisible zipper, but barring that it's been totally smooth sailing.

tangback.jpg

Memorial Day Weekend was typically gross here in Portland, but having this cheery project to work on, and a vacation to look forward to, has really raised my spirits. I may still be wearing sweaters, but at least I can sew sundresses!

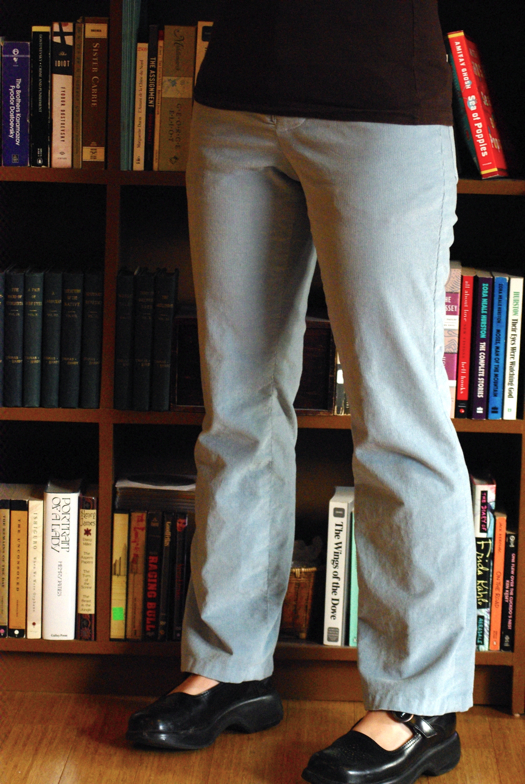
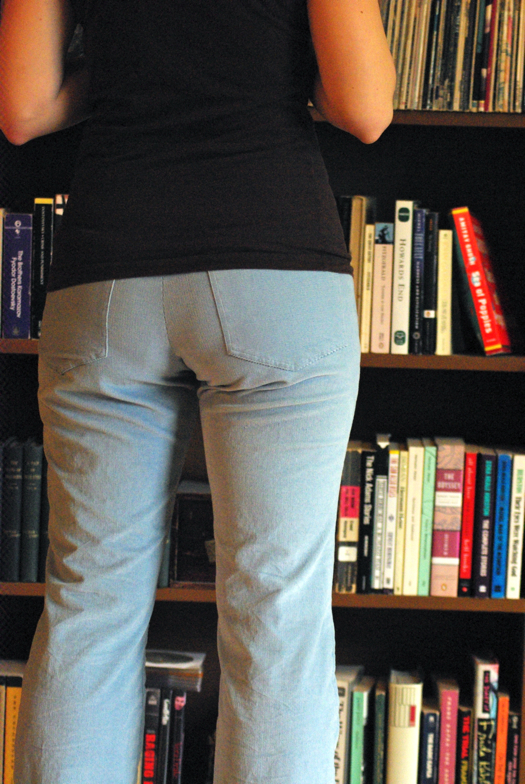
A cold and rather soggy Spring has sprung here in Portland, and what better way to celebrate (while still remaining warm) than with a nice new pair of robin's egg corduroys?

robinhere.jpg

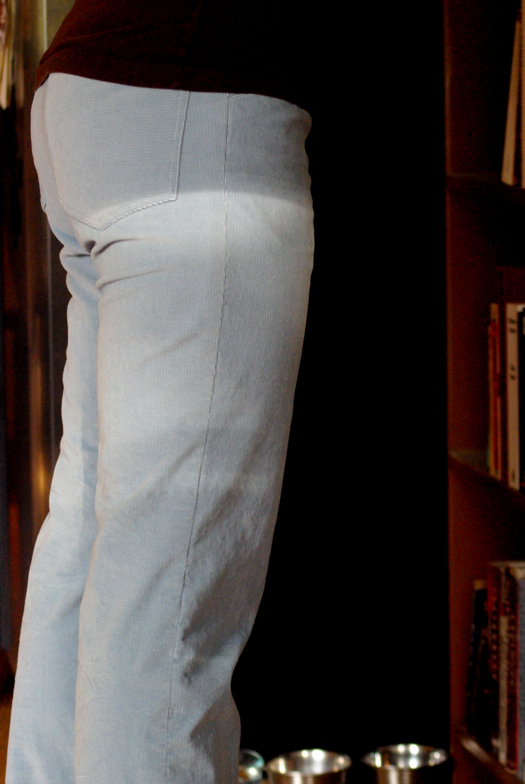
Regular Family Trunk Project readers may be getting tired of revisiting this pattern by now; it's my old pants standby, Vogue V2907, altered to fit me the way I like. But if you are tiring of them, I don't know what to tell you: I'll undoubtedly be making more versions of it, because I wear my two previous attempts on these pants ALL. THE. TIME. So often, in fact, that my olive-green cords are nicely worn in at this point, and it feels great to have a fresh new pair with which to ring in the new season.

robinback.jpg

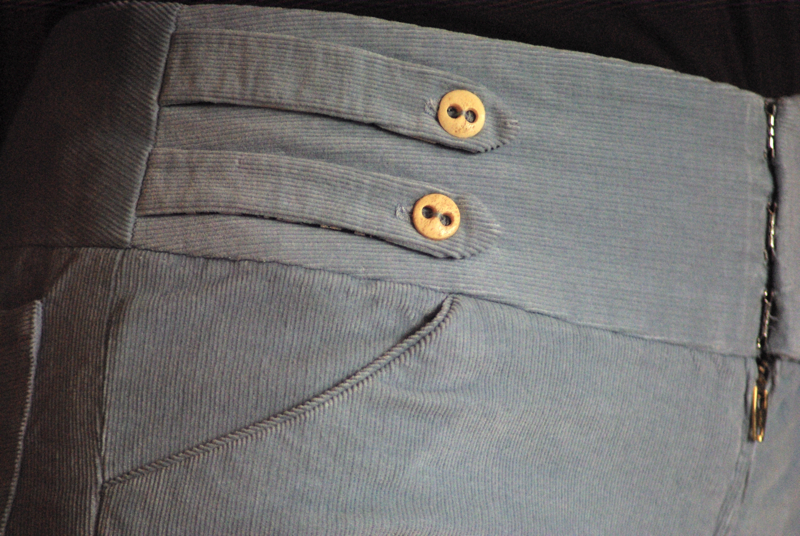
The details on this version: I made them with the little ornamental tabs, as you can see.

robincarriers.jpg

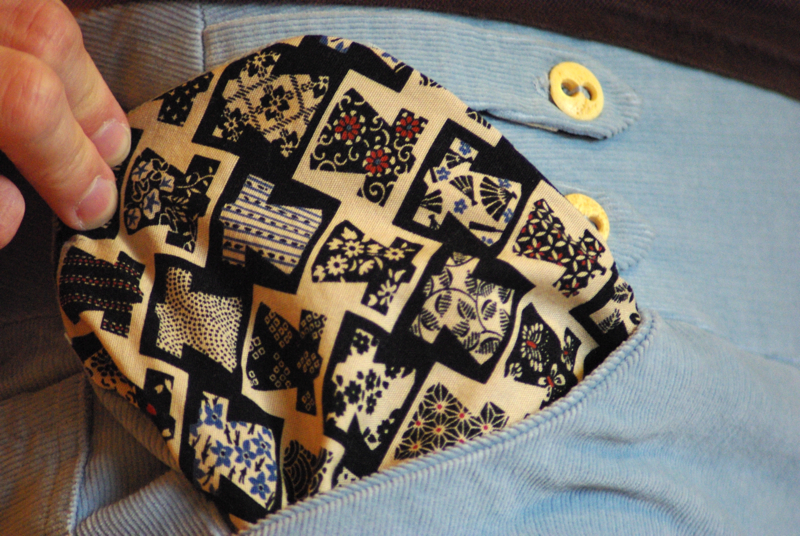
These are adorable, and a great use for a set of four cute buttons (these are vintage, a gift from David's aunt Marcy), but I haven't yet made a set with which I'm entirely satisfied. Every tiny difference in size and shape is somehow magnified, and they never seem to match perfectly—a little wider, a little narrower, a little pointier, a little blunter...you get the idea. Ah, well. They're still cute, and I love how they're lined on the back sides with the same fabric used for the yoke facing and the pockets:

robinpocket.jpg

This particular fabric was also a gift: part of a super-thoughtful Partnership Celebration present from Anne's friends Etsuko and Yoshiko: they picked out a whole series of gorgeous cotton Japanese prints, in quantities perfect for lining pants, dress bodices, shirts, and so on. I'm so excited to put them all to use! They'd also be great for a wide stripe around the bottom of a skirt, or for an appliquéd pattern on a larger project. I love this crisp, tessellated kimono pattern: I have some left over, and am thinking of making some largish self-covered buttons with a kimono at the center of each. How cute would that be?

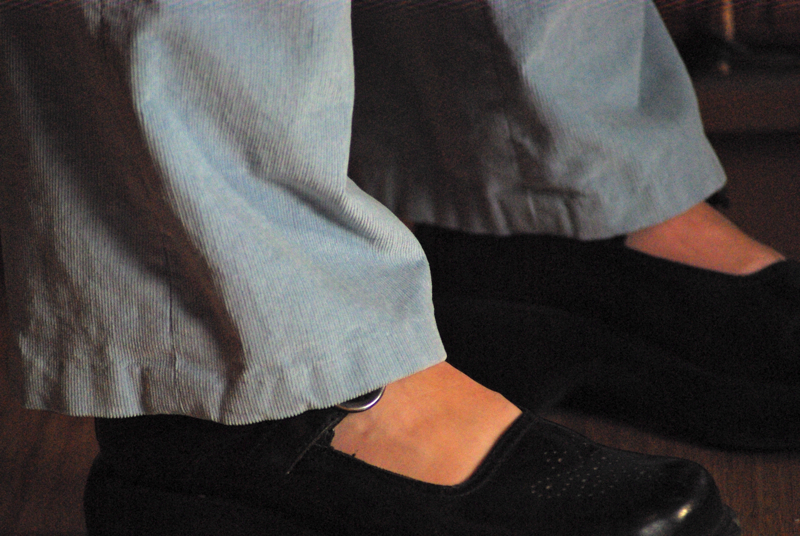
In other news, this iteration of the pants is slightly longer than previous ones:

robinshoes.jpg

I'm learning that when it comes to pants, I actually like them slightly longer than I think I'm going to when hemming. The thing is that when I'm actually wearing them, they're usually in action (walking, running, sitting), all of which makes them ride up slightly. My only complaint about my olive-green cords is that they're ever-so-slightly shorter than I'd like. The length of the blue ones, I think, is pretty perfect. Nice and cozy.

One of my favorite changes from Version 1 to Version 2 was the substitution of jeans-style patch pockets for the original welt ones on the back of the pants, and I repeated that change on these. I actually like these even better: the smaller wale on this corduroy means that they look smoother, and I lined up the grain so that it coincides better with the lines of the pockets. I don't know if I'm imagining it, but the patch pockets feel so much sturdier and lower-maintenance than the welts.

robinside.jpg

All in all, a great little project. I've been living in these since I finished them a week ago, and since they're made from mill-end corduroy from a pattern I've used three times before, this is probably about a $14 pair of pants. Score!

Details

| 62 Comments | | »>

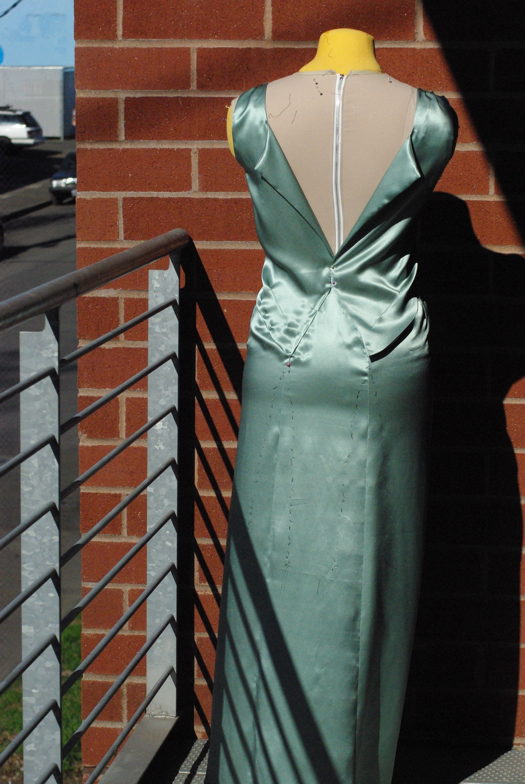
The dress is done! And it's beautiful. I'm so pleased and satisfied. But I'm waiting until Heather's uber-talented photography can show you the final results. I know, I'm such a tease.

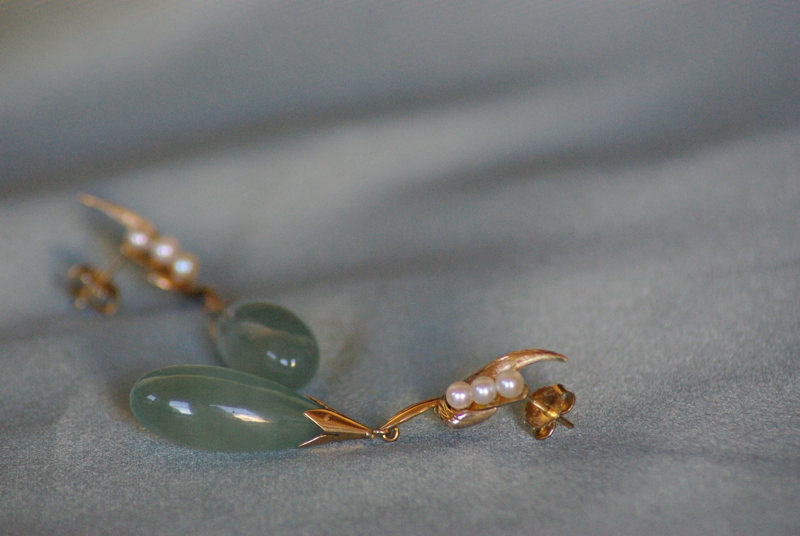
detailsearrings.jpg

We're rushing madly about in an attempt to get all the last-minute logistics taken care of before our Partnership Celebration, but I've been making an effort to document the small, quiet moments of beauty and meaning in between the harried errands and frantic emails. Above, the earrings that inspired my dress color: watered jade teardrops, bought by my grandfather for my grandmother in Hawaii in the 60s.

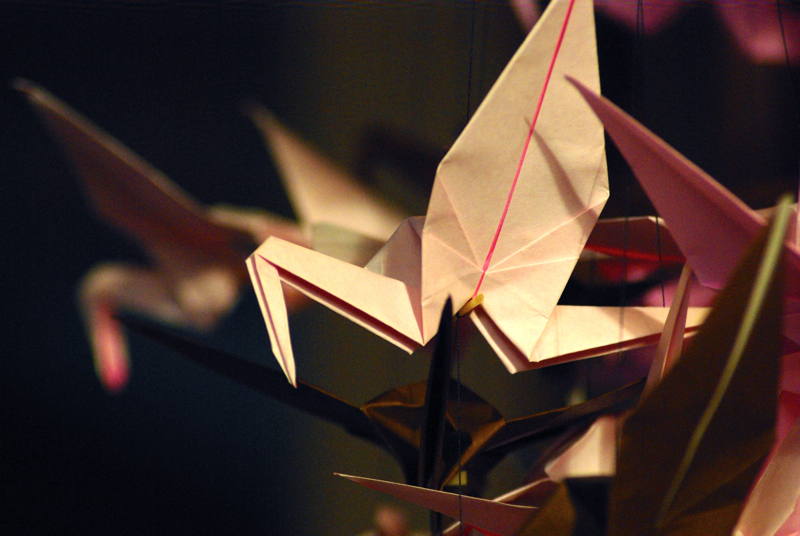
detailscranes.jpg

Some of the craft time normally reserved for knitting around here has been usurped by paper crane-folding. David's mom and my own have both been pitching in by folding cranes. My godmother organized a crane-folding shower, and Anne even recruited her friends Etsuko and Yoshiko to help! How sweet are they? It's lovely to feel that these flocks are a gift from our community, and that that community is larger than we realized.

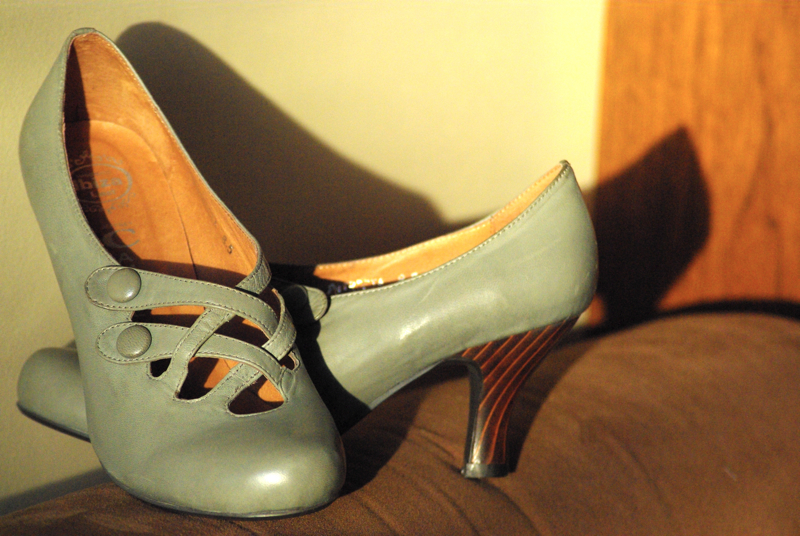
detailsshoes.jpg

Pretty good find on the shoe-color, no?

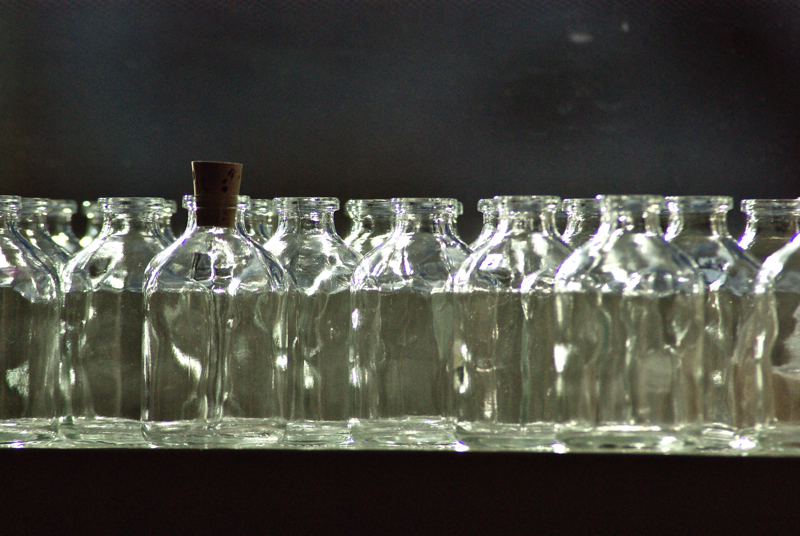
We mailed everyone tiny bottles in which to collect a bit of water from a meaningful place; they will figure into our event, although it's a secret exactly how! It's been a blast to see them trickling back to us through our mail-box; we now have melted snow from Mount Charleston, rain-water from my grandmother's garden, tap water ranging from DC to Portland, and Pacific salt water from Cabrillo Bay. Back when I took this, the bottles were still waiting to journey out into the world:

detailsbottles.jpg

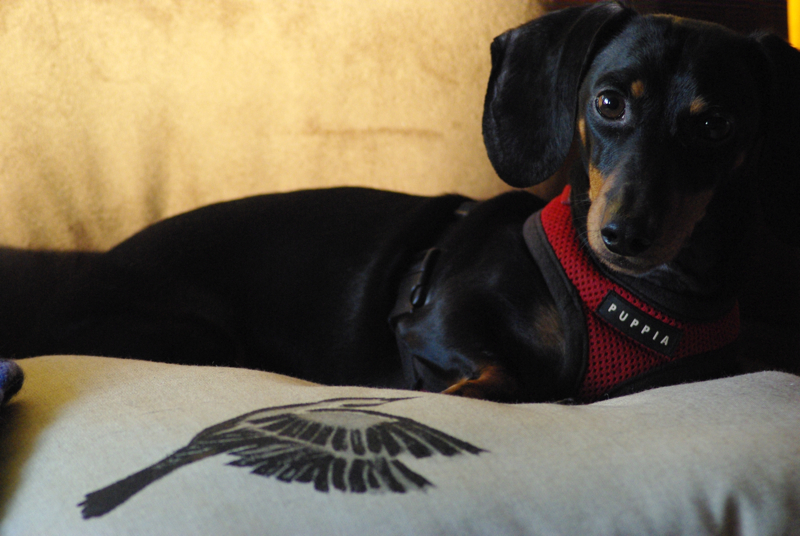
And what does Mr. Bingley think about all this? He's not sure. NOT AT ALL SURE. (Note the beautiful cushion painted by David's dad!)

detailsbingley.jpg

One week, people!

PS: Once the dust clears, I have a cool series in mind on (gasp!) actual knitting. I've been de-stressing with a new design I'm really enjoying; hopefully you will, too. :-)

A sigh of relief

| 49 Comments | | »>

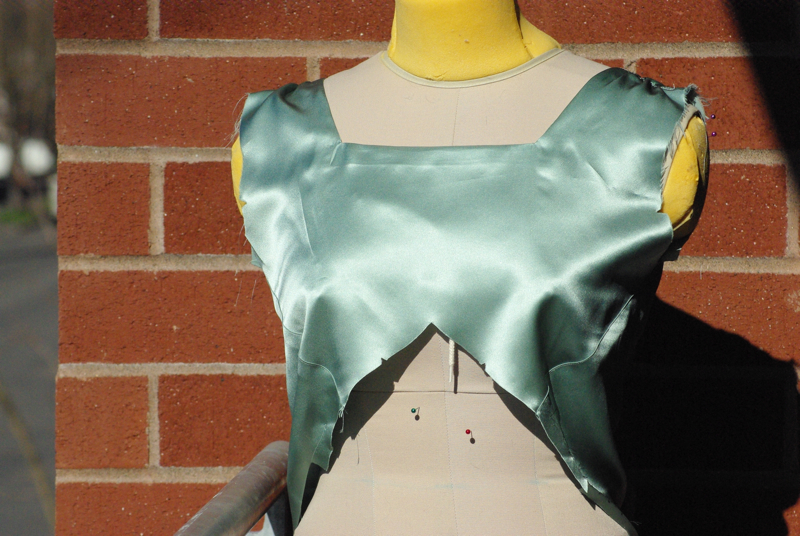
It's taken me a couple of days to put a blog entry together, but oh man, did I have a busy sewing weekend. And let me just cut the suspense right here: SAINTS BE PRAISED, my alterations worked.

silktop.jpg

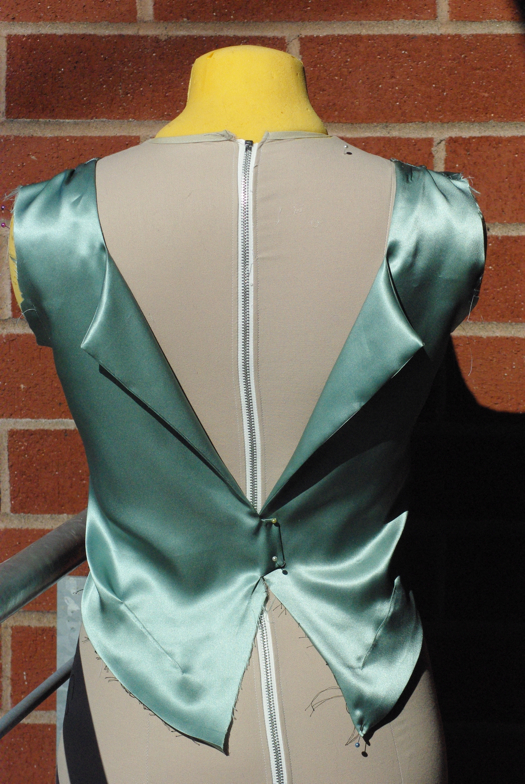
On Friday morning, the dress was still a bunch of flat pieces in a shopping bag. On Friday evening, it looked like the photos above and below.

silklapels.jpg

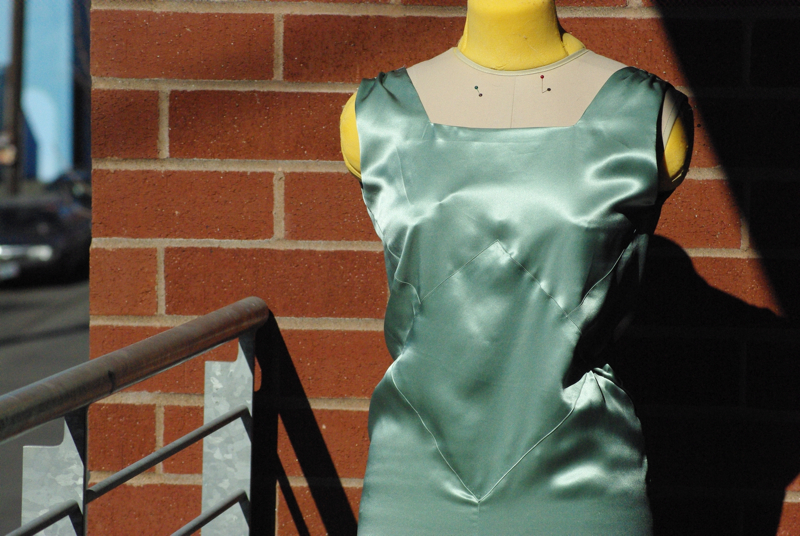
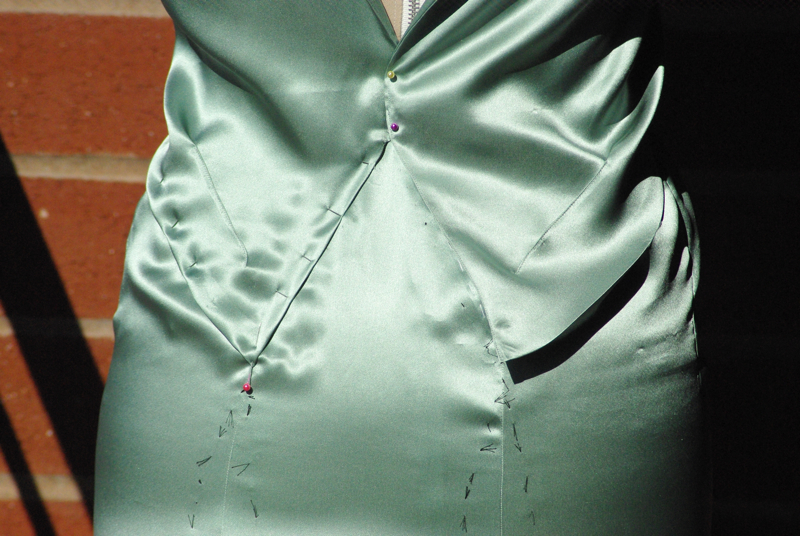
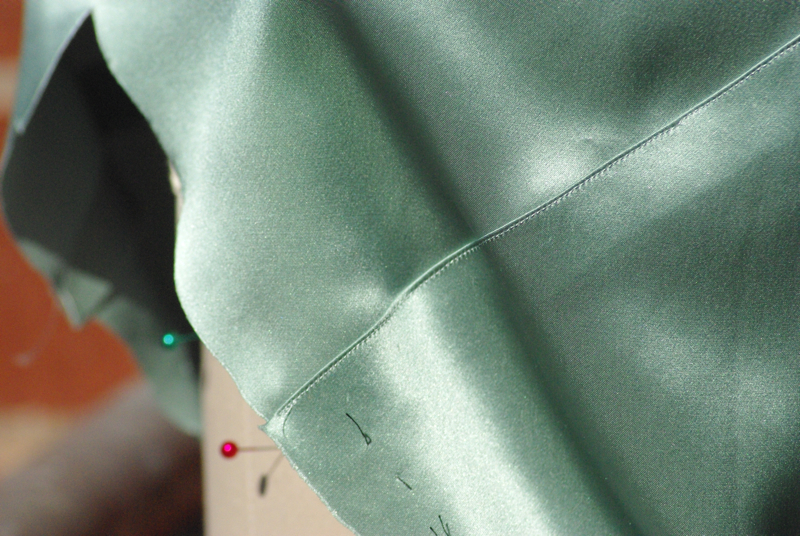
I'm glad I took these because it's easy to understand from them just how unusual the construction of this pattern is. As you can see, there are no side seams, nor are there front and back seams in the top portion. The bodice consists of three main pieces: the center front, and two long, oddly-shaped pieces that angle down and backwards until they meet at the center of the lower back, creating a deep V with fold-back lapels. Each of these side/back pieces is attached to the center front with an edge-stitched diagonal seam, like so:

silkseam.jpg

Actually, all of the lines joining the skirt to the inset to the bodice are diagonal edge-stitched seams. Which maybe gives an inkling of why I sweated blood over figuring out a way to alter the angles of certain diagonals (without messing up the angles of others) in order to take inches out of the center lower back (but not the upper back, or butt). Those two back pieces, the facings that match them, and the center back of the skirt where it joins to those four, were the parts I had to modify, and you can see in these photos that they passed the first test: once they're all finished and folded, they are the same length and the same angle. Good news indeed.

And now, here's what the dress looked like on Sunday morning!

silkback.jpg

That ripply-ness on the left isn't a nightmarishly-tensioned seam; it's only pinned in place, and the right-hand side wasn't sewn yet at all. However. You can see that the alterations pass the second and third tests: the bodice back pieces fit the angle of the prepared center back piece, and the whole shebang FITS. At this point, after hours of intense concentration, I breathed a huge sigh of relief and went to bed.

I usually stay pretty relaxed and don't worry about "ruining" good fabric and so on. I'm not a reluctant cutter - I usually whack into my fabric unreservedly, as soon as I've done a tissue-fitting. I'm not one to stash fabric for years and years because it's "too nice" to use. But I have to admit that knowing this silk color was sold out and I didn't have time to start over before the Partnership Celebration did ratchet up the suspense. I'm looking forward to returning to lower-key sewing projects in the future...but I'm also thrilled about how this is turning out. I've reached the fun part, where all the soul-searching-in-the-desert stuff pays off!

silkfront.jpg

Here's what the front looked like on Sunday morning—you have to imagine a belt in the same fabric bisecting the diamond-shaped inset; and it also looks less blousy on my body than on Gert. But from this photo you can get a sense of the whole construction, and the way the inset plays into the design as a whole. Lots and lots of edge-stitched diagonal seams!

silkbottom.jpg

It's further along now, although I took the sewing slightly easy on Sunday after Saturday's breathless stitching marathon. You can see the tailor's tacks at the bottom of the photo above; those are the placement lines for adding the two drapes to the back of the skirt, after which I'll just have to add the shoulder decorations and back closures, and hem the skirt.

I may just make it after all.

Cutting out

| 50 Comments | | »>

So, I really did intend to document this whole dress-alteration process on the blog. "Photos!" I thought. "Meditations! Maybe even tutorials!" But as it turned out, altering this pattern was akin to one of those Carlos Castaneda-type spiritual journeys you can only undertake alone, wandering in the wilderness until your spirit-animal emerges from a tumbleweed and advises you on the proper angle to invoke in order to remove three inches from the center back.

cuttape.jpg

At first I was bummed out about this, because I wasn't having much FUN during my desert-wandering period. But then Jennifer commented that it seems like an apt metaphor for making a relationship work, and that sort of brought me back to myself. Sewing and knitting are journeys, after all, and some parts of the journey are difficult; that's as it should be! It just means I'm learning and growing. This is stuff I always tell other people, but in the pre-Partnership-Celebration stress I'd forgotten. I took a few deep breaths, returned to the pattern with my hat in my hand, and she and I sat down and talked about our disagreements. Eventually, I think, we sorted it all out.

And then...

cutscissors.jpg

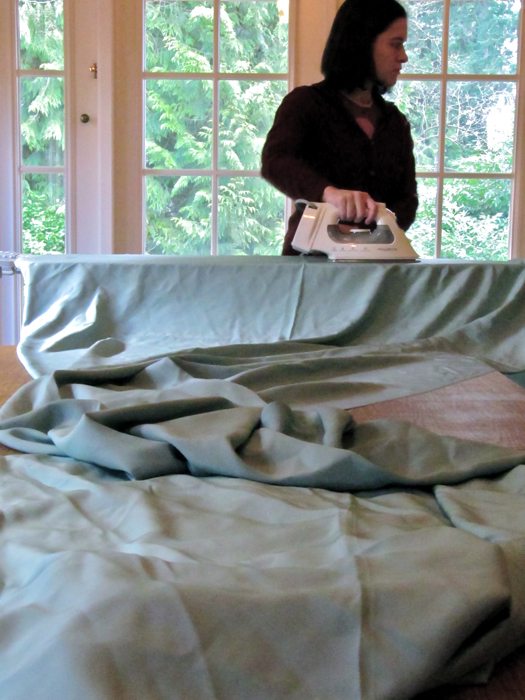
Well, another good relationship practice is knowing when to reward yourself for having worked something out. The pattern, David and I took a trip over to my folks' house, where my mom and I teamed up to cut it out in the fancy silk! This was a luxury, because my parents, unlike David and I, are possessed of a dining room table.

cutiron.jpg

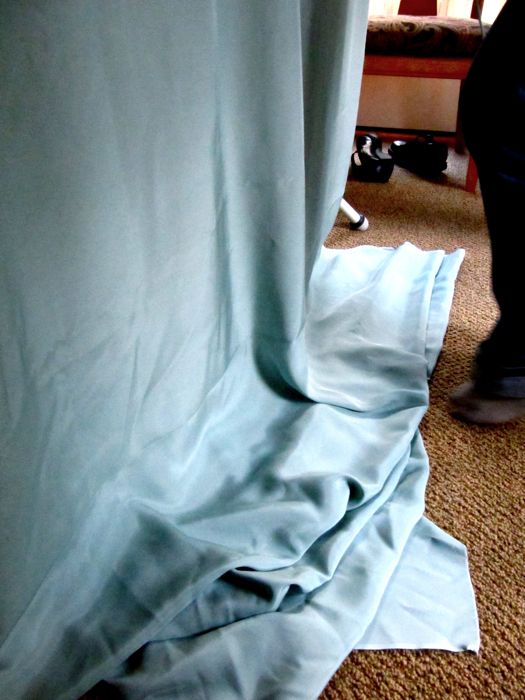
As you can imagine, keeping all that silk clean while cutting out on David and my floor and trying to keep Mr. Bingley entertained would have been a recipe for disaster. The table and the extra cutting help were amazing!

First we ironed:

cutfloor.jpg

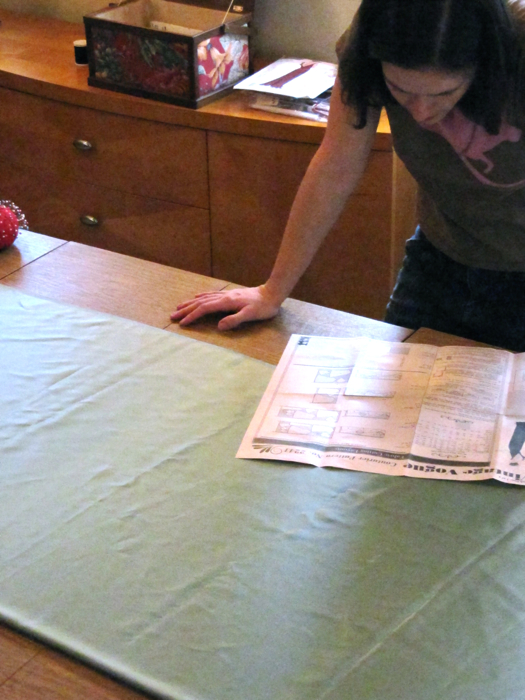
Then we planned...

cutread.jpg

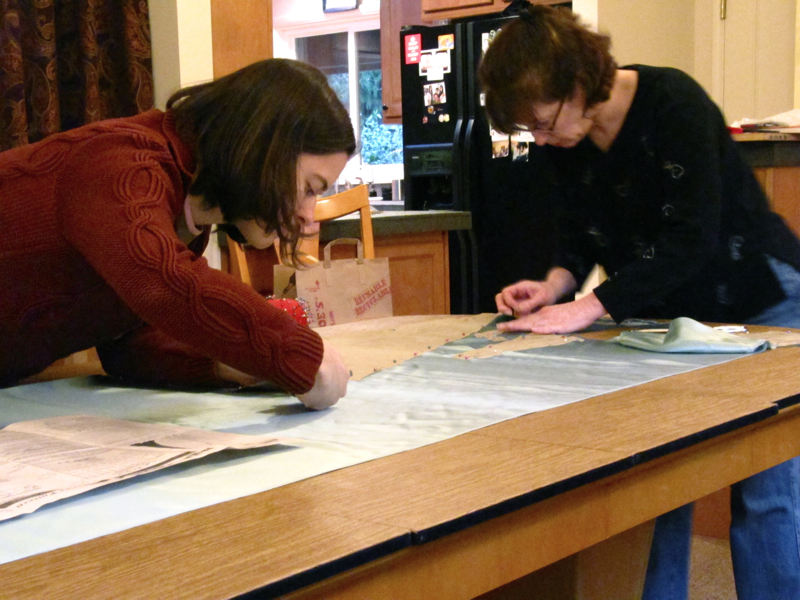
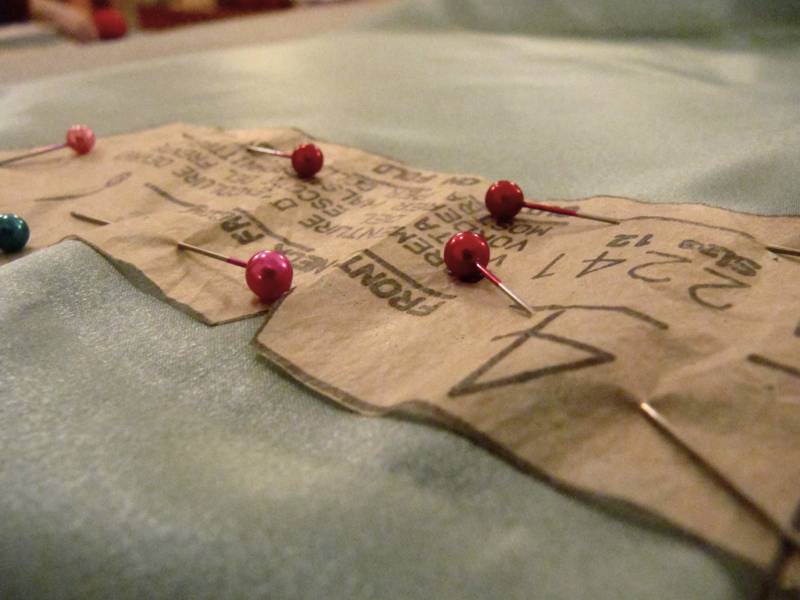
...and pinned...

cuttable.jpg

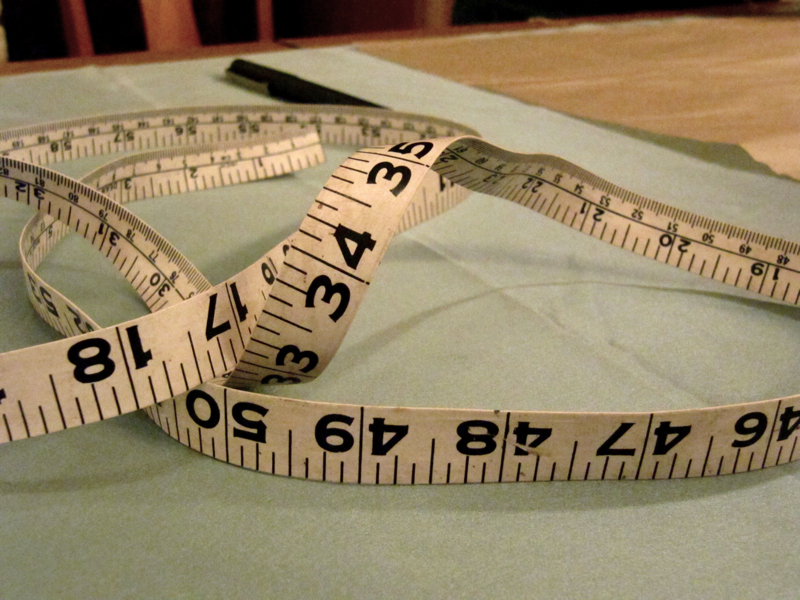
...and pinned, and measured...

cutarms.jpg

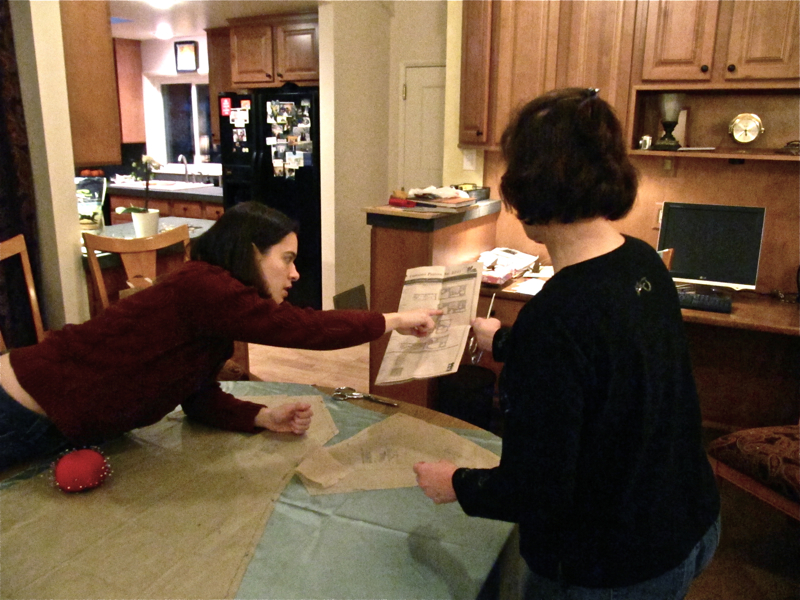
...and occasionally we stopped to regroup and consult the strategic plan...

cutplan.jpg

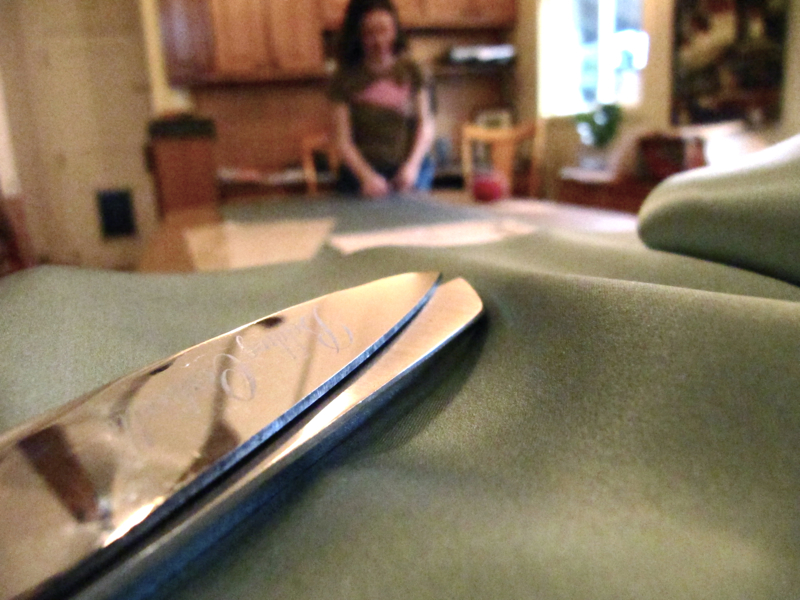
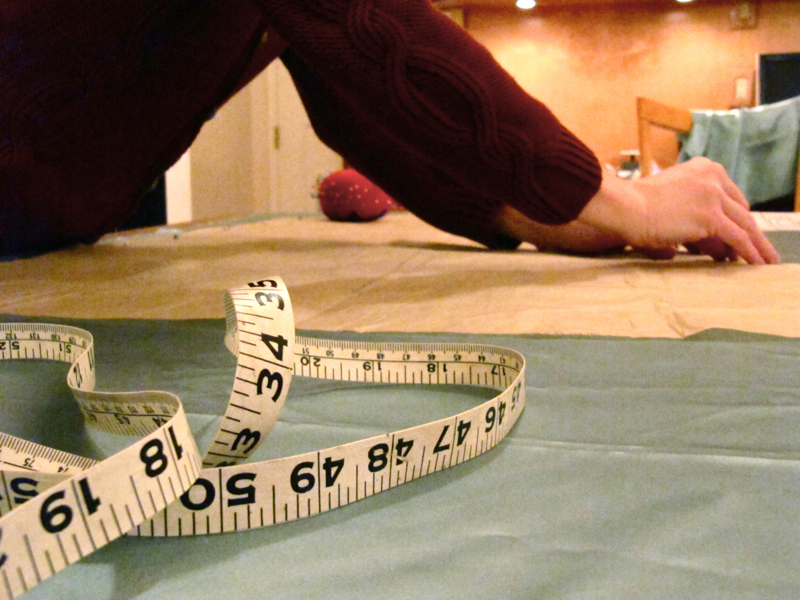
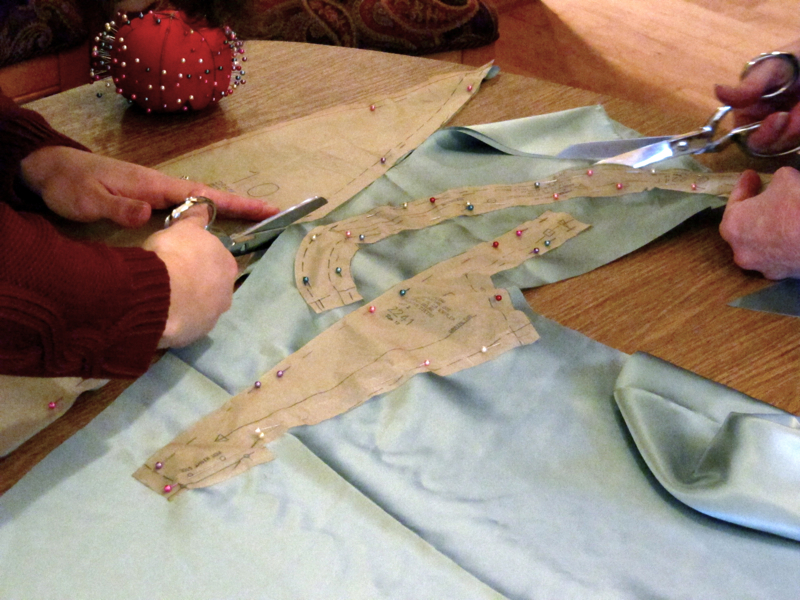
...and then, after measuring twice, we cut!

cutpieces.jpg

No turning back now! During the process of cutting I remembered just how beautiful this fabric is, and I'm both psyched and, I must admit, slightly nervous to start working with it. Luckily, I have quite a bit left over to practice on, but I can't spend that long fiddling around: the Partnership Celebration is in under a month! I took the pieces home and marked them with tailor's tacks, and soon the actual garment will start coming together.

Nothing like a little adrenaline to keep a girl honest...

cutpinned.jpg

(Thanks to David for the lovely photos this time around.)

Cycles

| 76 Comments | | »>

Life runs on cycles, doesn't it? With the seasonal flow, my energy waxes and wanes, my interest in this or that intensifies and declines. In addition to more predictable cycles, there are also just periods of life that are more or less taxing, and right now I am officially hitting a plate-juggling, headless-chicken peak of frenzied activity.

alteration3.jpg

With the new year, Partnership Celebration preparations have really kicked into high gear. I won't bore you with the details - I'm willing to bet that everyone reading this has either planned a wedding/graduation/ordination/50th-anniversary-party, or looked on as someone else planned one, and this involves all of the same kind of nit-picky details to settle: catering, clothes, invitations, decorations, travel arrangements, and so on, not to mention the important part of planning the actual ritual. It's all exciting to us, if not to other people: a lot of it fun, a few things annoying, but the sheer bulk of it a little crazy. Add to that, at my day job we're in the midst of the month-long process of going public with our newest set of data, which means more work than usual and getting myself up-to-date on procedures I've never gone through before. In my knitting life, deadlines for some reason have not halted in their tracks just because of all the other stuff on my plate, so I'm doing my best to keep on top of them as well.

alteration1.jpg

All of which is to say: I've been feeling really guilty about not joining Ravelry's Help for Haiti program. I think this is such a cool idea, and it's awesome that Casey has made it so easy for one to search for included patterns that are already in one's queue. I feel like a self-involved flake for not including my patterns, but to be completely honest the idea of taking responsibility for administering one more thing at the moment makes me want to cry. I have this awful fear that I would pledge to donate half my January pattern proceeds, and then the actual donating would somehow fall through the cracks between everything else I'm trying to do: an outcome that would be truly unforgivable. So, it sucks, but this just isn't something I can keep track of right now. But I strongly encourage everyone to check out all the fabulous patterns from designers who ARE participating, and purchase those patterns you've been meaning to get anyway, while they benefit this good cause.

alteration4.jpg

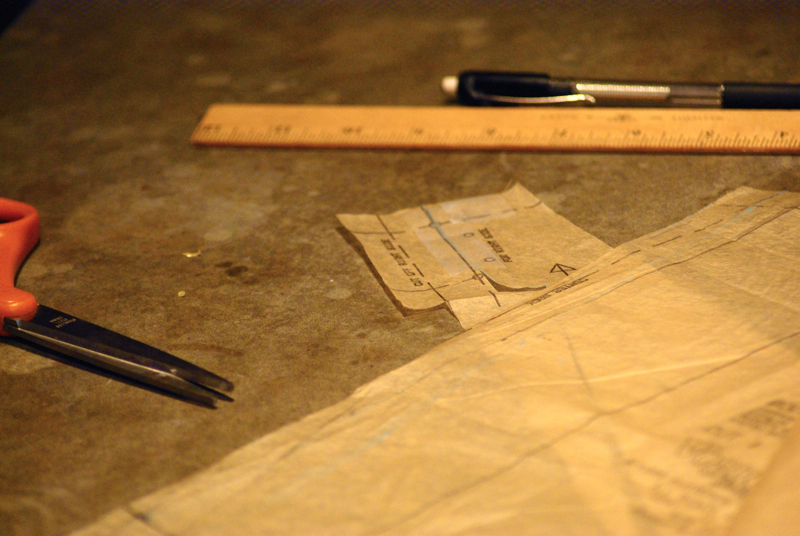
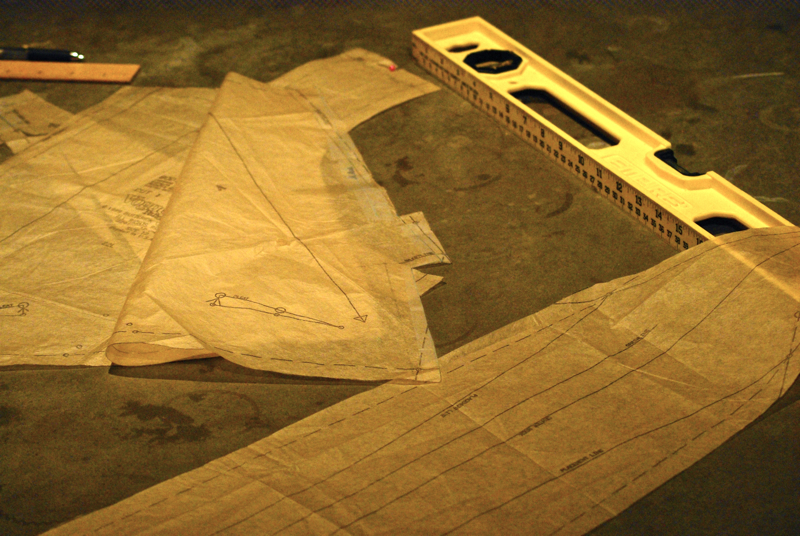
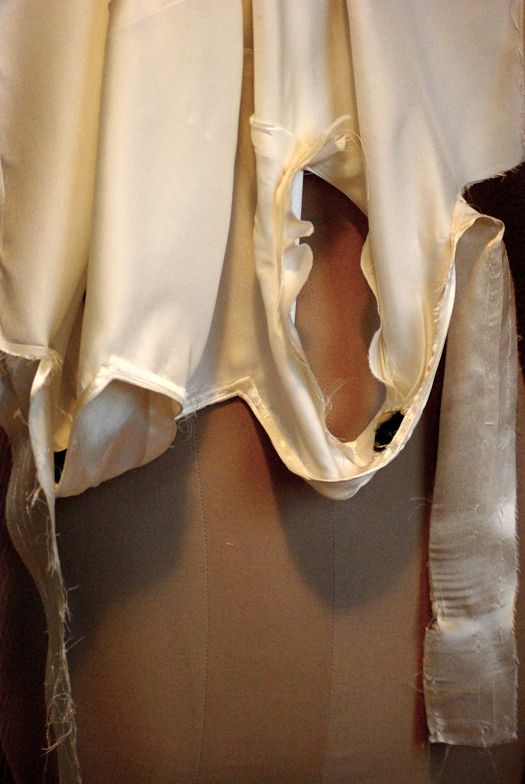
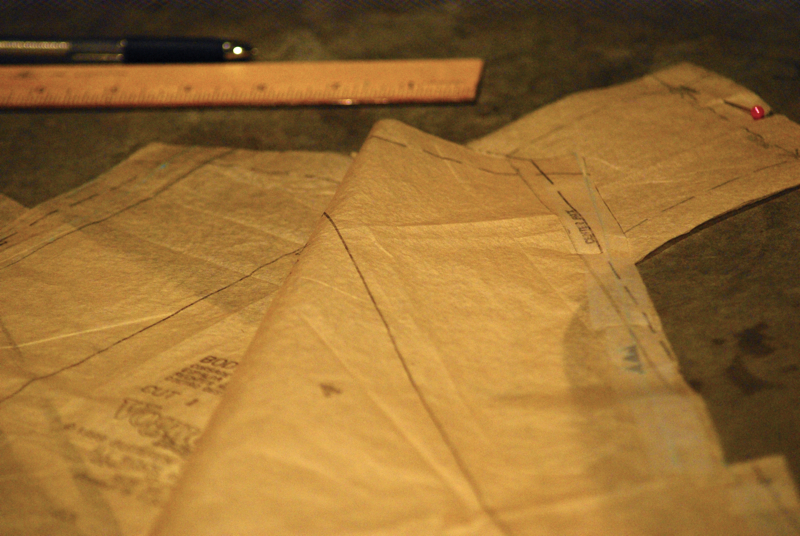
In other news, yesterday and today are officially "Figure Out the Alterations for my Partnership Celebration Dress or Die Trying" Weekend (pictures above). The dress was gapping at the back, and although the pattern specified "no provision for above-waist adjustment," I figured that where there's a will, there's a way. I spent about five hours yesterday puzzling over the pattern pieces with pencil, ruler, and tape in hand, trying to work out how to take three inches out of the middle back of this strangely-constructed pattern (no side seams; interlocking bias-cut triangles and rectangles). In the end I think I've figured out something that will work (fingers crossed), but oh man, was it ever difficult. It was one of those experiences you feel your way through with a combination of math, trial-and-error, and blind intuition. Right now my fitting shell looks like the photo above, but hopefully this afternoon I can re-cut the five pieces involved and get a start on putting it back together. And now, back to the alteration station...

alteration2.jpg

Archives